
For specialist study 2 i wish to concentrate on matte painting and pre-visualisation/concept art, which is what i want to pursue as a career path. The difficult process lies in adding a sense of narration to the pure image based techniques (matte painting & concept art) as well as incoporating a touch of animation to a matte painting which solely consists of environmental designs.
Inspiration
This animation involved the use of matte painting which was a great example on how i could emply techniques of movement into my animation of matte paintings.
I really enjoyed the use of colours and environments in the 2012 olympic promo. The style of design also appeals to me.
At this point i still needed an idea to work on, this O2 advert was something which i felt i could use because i liked the idea of an object going on a journey to a destination.
I looked at 'La Jetee' to get a sense of narration from using still work. I found the work quite intriguing, as the frames are fairly still you can see a sense of movement as the stories being told.
Briefs (D&D)
Unilever

Ted Baker

After going to D&D awards i took a look at the briefs and decided that the potential lies in unilever and ted bakers brief. As i want to become an environemental artist (concept & matte) I liked the idea of creating something aimed towards creating a positive impact on the environment which was for unilever, and because i could choose from four brands it gave me more possibilities. But i essentially chose Ted baker's brief of introducing the brand to another country as i had a strong idea for this brief.
i looked at Ted bakers seasonal promotional videos, which gave me a sense of feel and also to conjure ideas for my project. The fact that it had a lot of environmental scenes really helped my vision.
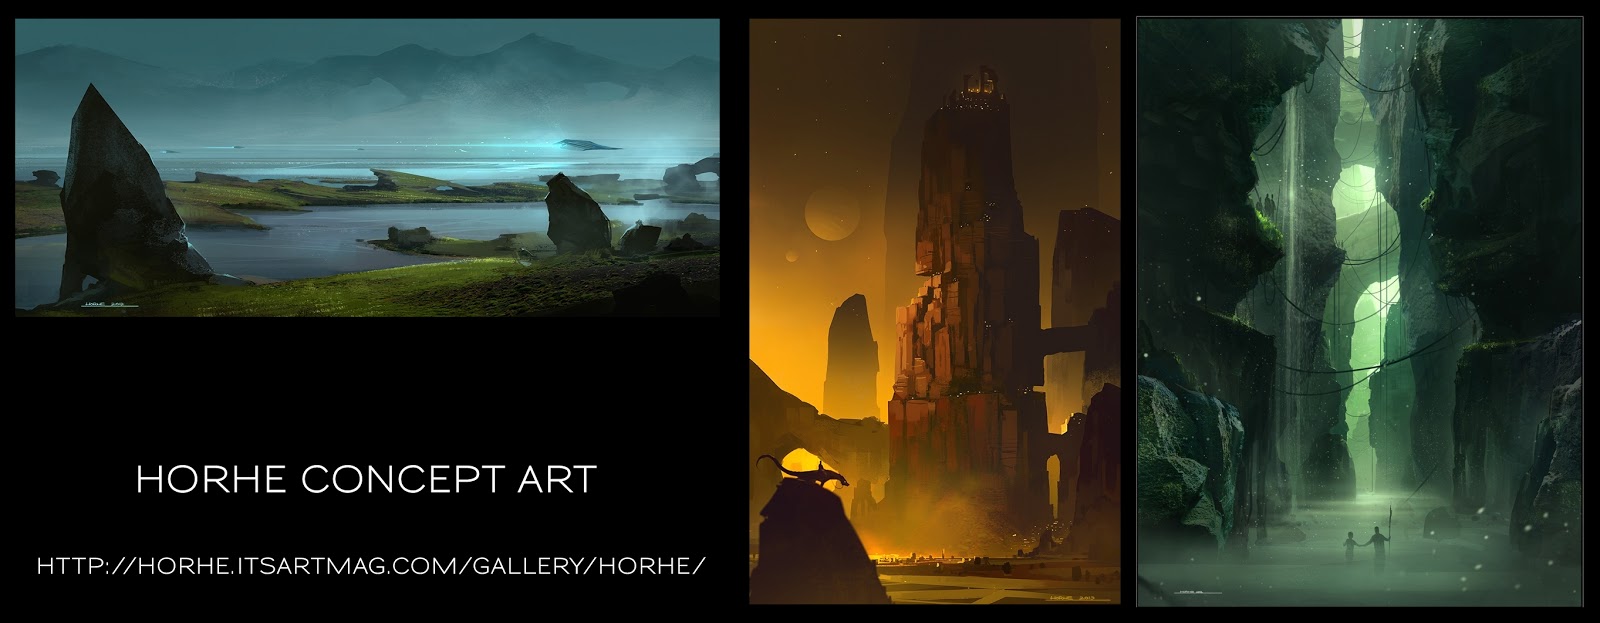

I found two digital concept artists which were quite inspiring. I really like the mood and use of colours especially in Horhe's work. In Onesiumus's pieces you can see a great sense of scale of a city on an island which could help me achieve the look I want in my work.
After watching Oblivion i found the environments and the matte paintings to be breathtaking! I looked at the making of and the cloud scene was the most fascinating for me, and how they used a screen surrounding the set to project clouds. This kind of work resembles visual effects on a digital means, but the use of this projection on a big scale used in reality really does show the potential in which visual effects has in the modern era.
[Production]
[Practice matte]


As a start i did a warm up to understand the pipeline. Which was creating a concept painting, then developing that into a matte using photographs and any other necessary matter to achieve a realistic look, and finally compositing the shot. In my case as i had to add animation i camera mapped it to give a sense of parallax. This initial start gave me a good insight into the pipeline and work style.
[Planning]


Using inspirations I finally came up with an idea in which the box goes on a journey from london to paris, and this box is used as the medium to introduce the brand to paris. I created a colour version of events as a reference and guide to creating my concepts. The colour chart along the middle represents the time and the colours from day to night in which the transition will take place in my animation gradually throughout.
Lickey hills & Bridgnorth

North wales

Paris


Paintings from the Louvre.
I travelled to a few places to gather research, inspiration, references and also photographic material to use for my matte paintings.
I have grouped each scene together to show the steps i took and how i reached the final result.
[Shop]


I had initially started to create my concepts and 3d objects in 3dsmax, as i wanted to get familiar with the program.

I chose this as the final composition i want.

As i wanted to do a set extension, I found an image online to serve as the background.


I had to match the perspective of the backdrop to the CG, so i tried different methods. Firstly i placed a plane with the image on the back, but it wasnt accurate or consistent, so then in order to match up the 3d objects i remembered one of the first test renders matched the plane coincidently, so then i used that test render and atached it to the camera and using my eye i matched it to the closest i could. This way i could later tweak the position and perspective if needed in photoshop. I then locked the camera so i wouldnt lose the position later.


These were the textures i created for the scene. The top textures i applied to the foreground building and the bottom texture i created in mayas default hypershade. Note: the top ones have been squashed to confine to the texture map of 2048x2048.


 |
| Shadow raw pass |
Using mayas mental ray to render out the scene in passes so i could have control in different things such as the matte outline to extract elements easier.


I finally took it into after effects as a raw image and after learning a technique from videocopilot i turned the image into a 2.5D scene. Ofcourse it only works to an extent as it is just an image but the parallax is enough to add sense of movement for what i want in the shot.
The final matte painting for this scene, along with the steps.


For the second scene it was much more taking what the first scene had except making sure everything fits in terms of perspective. Due to lack of time the tiling of the floor wasn't properly matched in perspective, but to compensate and add effect i blurred the surrounding of the shop in the final composite. I also added a backdrop for the right side of the image which goes back into perspective.
Testing the box for the shop scene. As this is the initial introduction of the 'spirit' of Ted baker i wanted it to be quirky hence why i hadded a spin before taking off into flight, which also served as a follow through action with the momentum built up.
[Box]


The box had to be consistent throughout the entire film. The look i wanted was for it to be polished and reflective, inspired by the Ted Baker shops which usually have that kind of banner.
I used the 'elevation scene' to serve as a testing purpose of the box.I felt the scene was too stationary hence why i added movement to the camera. but in doing so i had to extend the matte.

To better understand the movement of the camera and how far it reaches i took a snapshot of the two extreme positions of the camera in maya and drew up a plan to give me a better idea.

From that snapshot i created a quick rough matte which essentially was like a vertical panaromic.
Here i applied the matte to see how it works. Later on I decided to reduce the camera movement as it would take too much work and time to create a whole believable matte for this scene.

Using the animation graph editors in maya i formed the boxes movement to my liking, especially easing in and easing out to make smoother movement.


A great teachnique for creating the reflections was to create a textured globe of the matte and where the camera had to look through it was ok to delete the face as that would be facing away from the camera.
[Forest Scene]


The initial rough sketch which i developed into a concept painting. This was to set the foundations and direction of the matte painting.


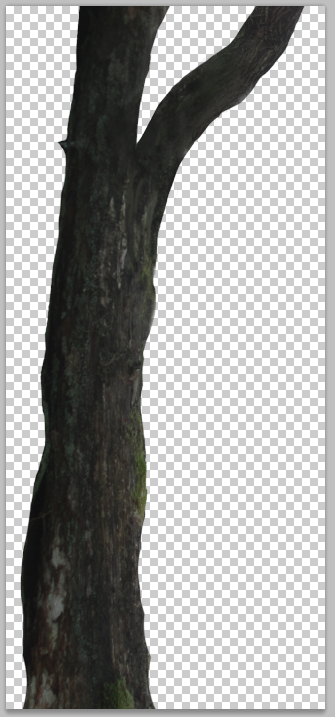
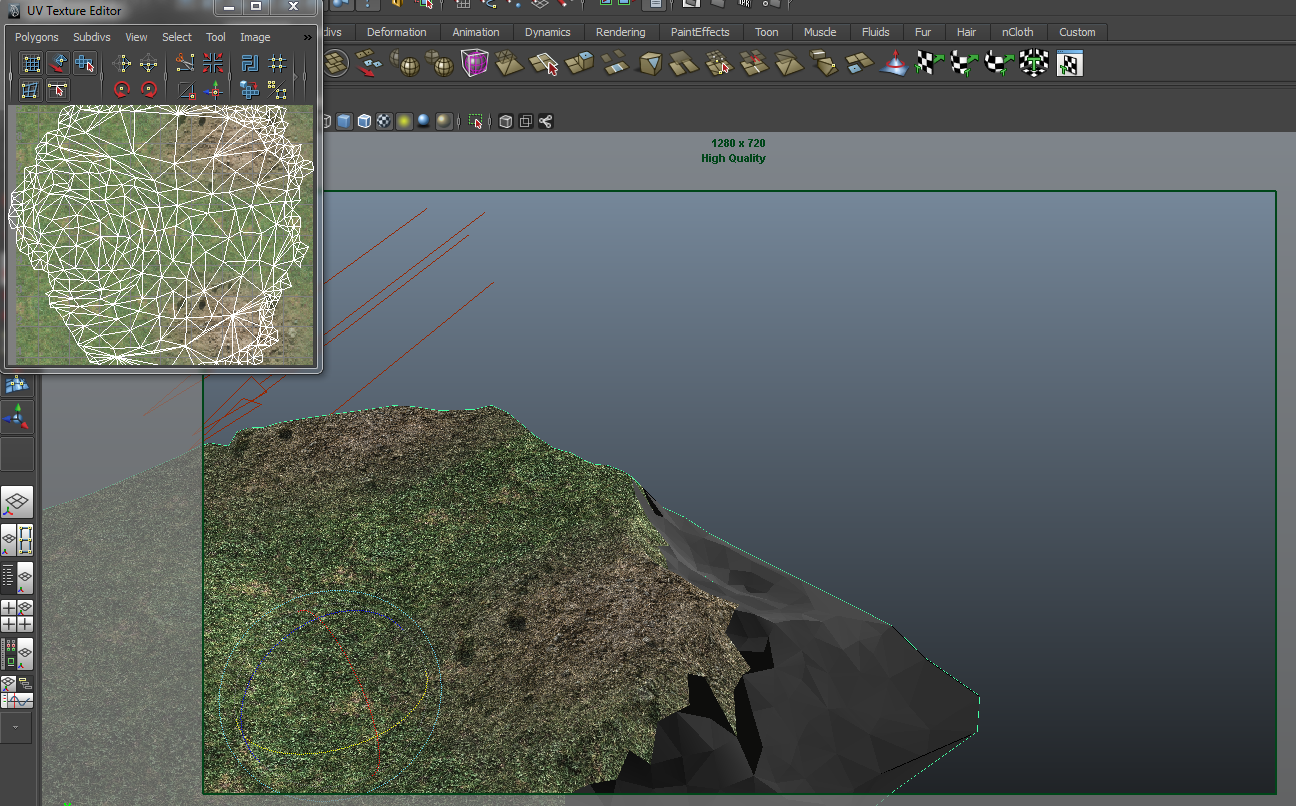
I started to create the matte painting in photoshop; placing photographs, cutting out, editing, distoring, bending, and blending to integrate it all together.

I rendered this in maya to serve as foreground elements for the final matte.

I experimented with camera projection in maya in which where you create the 3D elements and then project the individual items onto the specific 3D object. The image that is projected essentially serves as the texture and the 3D object helps to define it as 3D. This kind of projection takes a lot of time and my lack of knowledge limits me from using it, so i decided to stick to the layering in after effects but this gave me a basic understanding of using 3d software to create a 2.5d matte painting. Note: Creating a 3D object is only necessary for foreground and midground elements, as objects that are at the back dont have much of a parallax.
A render test to see how the box reacts to the evironment. from this i decided the box should go at a slower speed.

The camera projection which is composited in after effects. I used nesting compositions to get the movements of the camera and layers.
[London 'island']


I gathered some references and inspirational research into existing artwork of london which i found interesting and could help form the foundational concept of my island scene.

I started off by creating thumbnail sketches so i had ideas to play with.

I wanted to play with idea 2, but at this point i felt the composition is not really good....

So i went ahead with idea 1 and created the concept.


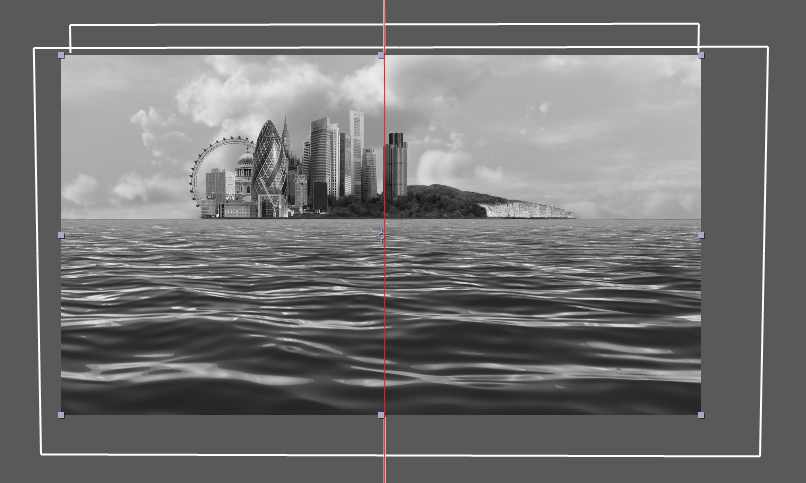
I started layering the photographs into place using different methods to get the photographs the way i wanted them, one example can be seen above.

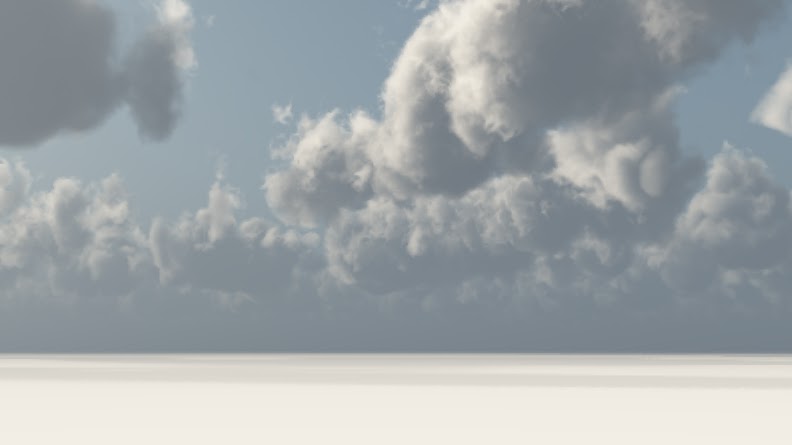
I wanted the ocean to have movement, so i created the ocean in maya using fluid effects found in the dynamics menu set.
I created different tests, this helped determine the camera angle, shape of the water and colour etc..


First render test with water.


I decided to improve the scene by making it more interesting and doing a camera move which follows the water to reveal the island. The only issue was tracking all this data into after effects, which i had few problems with aligning. From maya, I exported the camera along with a null placed in 3D space to where the matte was going to lie into after effects. I then matched the scene to make sure everything sits perfectly. I moved the cloud layer back as it is furthest from the camera and would help sell the believability of the scenes scale. I had issues with the tracked data at first and things were not aligning properly, but realised later it was due to mismatching the after effects frames per second to the maya data.
Heres another test which i felt the camera stop was too sudden so i later decided to alter the animation to more of a ease out.
The final matte painting for this scene, along with the steps.
[Dover]


I created the concepts in vue as i knew what kind of angle i wanted in my mind. I created a few deviations so i could choose the best one.

After vue laid the foundations i chose the best angle and started layering textures over the top using different photographic elements with the clone tool.

I wanted the box to go past the foreground cliff along with a shadow so i thought the best way is to create a plane which would clone the shape of the mountain, althought i tried doing it to my best ability, as you can see from the shadow test the shadow doesnt really deform well against some parts of the mountain making it look weird.


So from that i decided to export the model along with the camera into maya and match the scene composition to the render i had. This process was quite long as you could only export from vue as a 3ds object, so from 3ds i saved it as an fbx in which i could finally open in maya.
From this test i could see the shadow was looking much better now as it glides over the object seamlessly.

A stage of my matte painting, again using photographs and combining them together.


For the texture i decided to create parts of it in maya and edit it in photoshop in the final composite when put together.
The final matte painting for this scene, along with the steps.
[Countryside]

I went straight into creating the countryside matte painting using photographs i took in Wales. I extended parts of the piece where the photograph cut out using painting techniques and adding photographs.
Couple of tests to get the right angle of the box.

Using the environment tab in the cameras setting i could lock a plane of the matte onto the cameras scope, just as i have used for previous mattes. This technique was useful for seeing how the animated box works against the matte painting.

Finally in post production adding colour correction, animating the far clouds, adding fog, adding a slight zoom out and camera projecting the matte painting to give the final scene.
The final matte painting for this scene, along with the steps.
[Elevation scene]
I had a vision for it to look like the scene from charlie and the chocolate factory, this scene really inspired me because i felt it had the feel of britishness which was what i was trying to convey throughout the whole video minus the ending when the box arrives at paris.


I started layering photographs to create the matte painting, trying to obey the perspective at the same time. The photographs could be deformed and bent until the perspective looks right.


As the bridge was cutoff due to the original photograph I decided to do a set extension in maya, the bridge i wanted to expand off scene to the left so i created the model in maya to give me a better idea on how it would look and also give me a guide to layering further artwork onto it.
This details the different phases of the bridge, i started the construction off with the 3d model then cloning photographic elements until finally painting the remainder to integrate it into the scene.
A camera move test, in which i was happy with.
The elevation matte painting was also 1280x933 compared to the rest of the scenes which were 1280x720 (minus forest scene), as the extra bit of height would compensate for when the camera moves up. The video highlights the final matte painting for this scene, along with the steps.
[France 'island']

I felt the j'adore film, ironically also french captures the kind of colours and feel i want of the place which i wish to portray in paris.

A reference to the kind of night with lights i'd like.

The concept which i was going to evolve into a matte painting.


Once the matte painting was complete i used it as a reflective plane for the box to pick up.
The final matte painting for this scene, along with the steps.
[Cloud scene]

Throughout the duration of my project i came up with an idea in which i thought would work well, especially after watching Oblivion and being inspired by the scenes of clouds, i felt a scene where the box goes through clouds would work well. So i started off in maya fluid effects, after doing bit of rendering i felt it wasn't what i wanted....
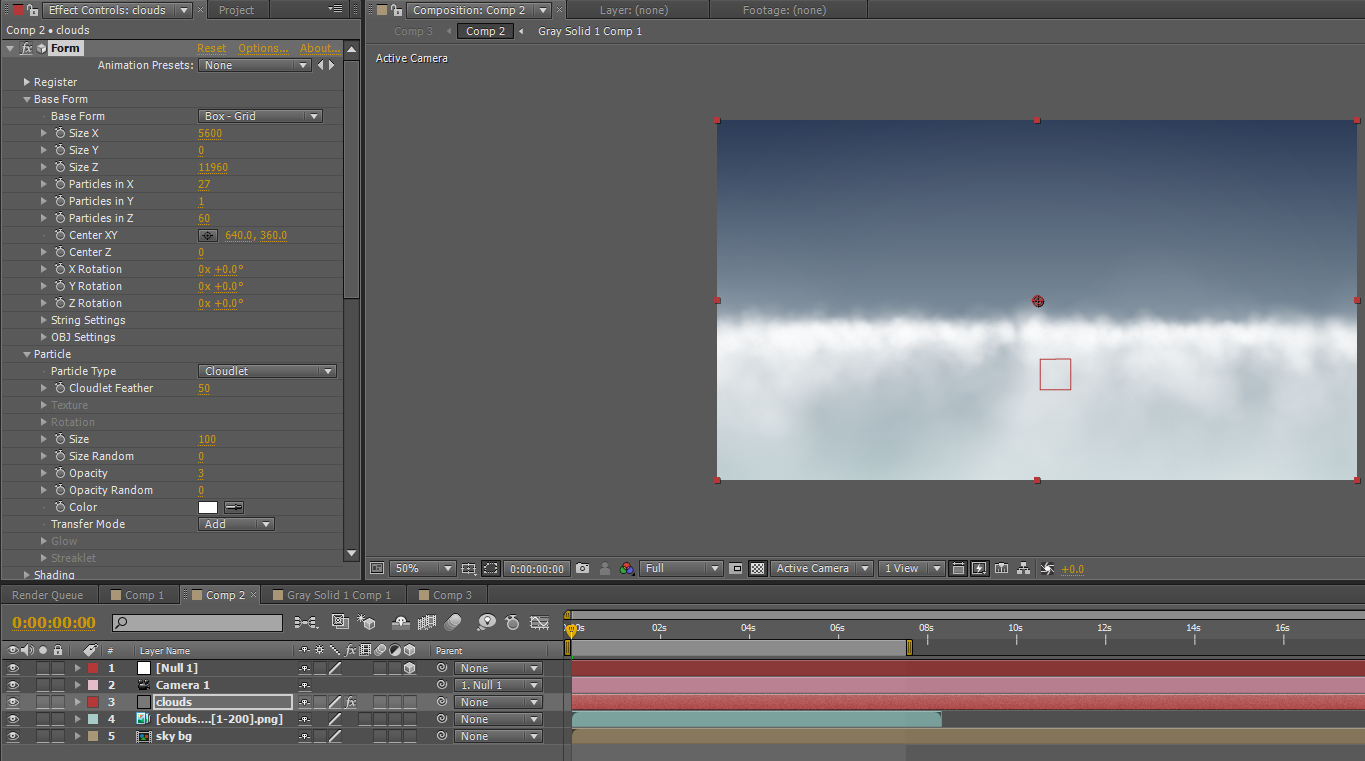
For this test shot i animated the box moving forward in maya, but i felt i could have done that myself in after effects and that way i could have the freedom of positioning the box where i want, so for the final render i would just make the box come up and rotate on the spot in maya, then composite it into after effects and have the freedom of animating it in 3d space.

Using a plane which goes all the way around to achieve the reflectivity on the box. As the box is just coming straight up i could extend the reflective plane in the shot as i could easily mask it out in after effects.
[End scene]

A few tests for the ending scene, i decided the box was too static in both of these scenes, so i decided for it to fly past the camera and to finish on that.
Animatic
[Final]
No comments:
Post a Comment